
Review of RS125 Mesto Knapsack Sprayer
Share
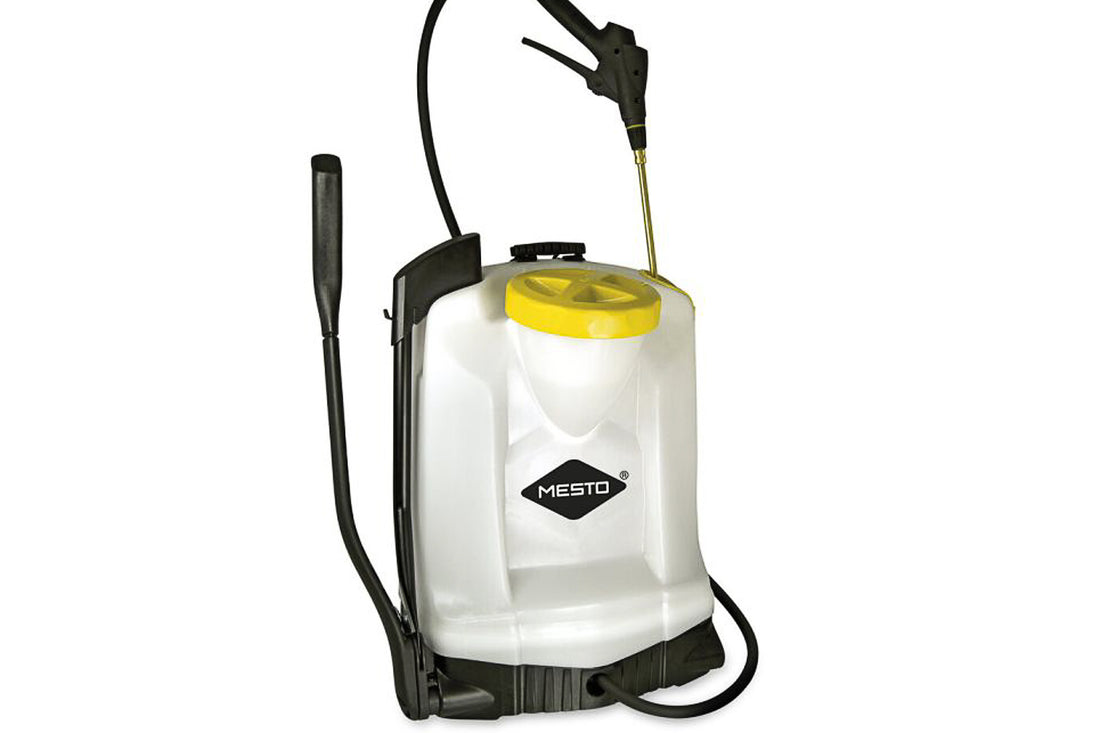
The Mesto RS125 is a backpack sprayer with a 12-litre capacity (RS185 has an 18-litre capacity) white, polypropylene tank and with a 6 BAR maximum spraying pressure which gives a maximum flow rate of 1.4 litres per minute.
Initial Impressions, Packaging and Sprayer Manual
Once you have purchased the backpack sprayer, I suppose that the first thing that you see is the box and the box for the Mesto RS125 knapsack sprayer gave me a good first impression. It is brightly coloured with plenty of good quality and informative photos and with a construction that felt strong enough to both hold and give protection to the sprayer. As the RS125 is slightly smaller than the RS185 it doesn’t integrate the sprayer tank handle into the box however there is a handy handle cut into the box so carrying is not a problem.
Upon opening the sprayer box, the first thing I found was an instruction manual and quite some instruction manual it is; over 125 pages of instructions and pictures. Okay, so only 8 of the pages are in English but it is nice to get an instruction manual and this one tells you pretty much everything that you need to know, from a welcome message and safety notices through technical information, assembly instructions, care and maintenance information and a faults guide. Putting the manual to one side for a moment it was time to have a look at the sprayer. Everything was nicely packed around the tank so to remove the sprayer from the box required just removing the sprayer hose; with a gentle pull on the handle, the tank lifted easily from the box. My first impression of the sprayer is that it felt substantial and looked good as did the hose and various handles and metal lance. The next step is to assemble it.
Sprayer Assembly
I have a skim through the manual and everything seems straightforward enough. The shoulder straps are already fitted to the tank so there are only five parts to put together. How hard can this be? Not hard at all, especially when you realise that there is a plastic bag inside the sprayer that holds a couple of small fittings. Please don’t forget these as you can’t assemble parts of the sprayer without them.
The first thing I did was to attach the hose to the handle and tank. Remember to slip the locking threads onto the hose before doing this. The 1.5 metre hose looks and feels like it could take some real battering. I think that it has a much sturdier feel than many hoses that I have seen with sprayers and matches the overall impression I have of the sprayer itself. I fitted the hose to the sprayer handle in a matter of seconds, but I did find pushing the hose onto the tank fitting to be a little tricky. However, a few extra seconds of pushing and the sprayer hose slipped into place. If you find the hose a little hard to push onto the fittings, then softening the ends of the hose by dipping them into hot water for a few seconds will help. The metal lance is then fitted to the handle and assembly is nearly finished. The only thing left to do is to fit the pump lever. This can be fitted to either the left or right side of the tank (for left or right-handed people) and it comes in two pieces with a small extension that is pushed into the main pump lever and allows the lever to be set at a length that best suits the operator with three options to choose from. The main pump lever is fitted to the tank by simply pushing it into a hole at the base of the tank and fitting a locking pin. Once again, you also have a choice of three settings giving you a width to suit the operator. I found this locking pin a bit of a pain to fit but that was mainly because I was trying to do it in very poor light. Once I had moved, so that I could see something, I managed to line up the holes and the pin slipped into place.
As with the RS185, the assembly only took a couple of minutes. Obviously, I have put sprayers together before, but I have found the RS range of knapsack sprayers to be some of the easiest I have done and the manual is there to help although I found the drawings easier than the written instructions.
Sprayer Use
The tank has a 140mm wide neck which makes filling easy. The bright yellow lid was easy to open and close and there is a plastic filter, in the neck, which I found easy to remove if not needed. I would, however, recommend leaving it in place so that nothing can be added to the tank that could block the nozzle when spraying. So, with tank filled I put the sprayer onto my back and with padded shoulder straps I thought the sprayer was very comfortable and sat well. Just a little word of advice, the straps need to be clipped to the base of the tank before you can wear it. There is plenty of adjustment in the straps so all shapes and sizes should be well accommodated.
All that was left was to do some spraying. A few gentle movements of the pump lever and you can see the pressure gauge on the trigger handle start to rise. I like the pressure gauge. I think it’s a great touch, looks really good and is helpful, letting you know when the 6 BAR maximum pressure has been reached. Pull the trigger and you are spraying.
This knapsack sprayer can be used with our 3.2-metre & 5.4-metre, telescopic lance extensions. All you need is one of the connectors which will join the lance handle to the extension handle. I have used this sprayer with the telescopic lance and have found it easy to connect. TIP: I found that locking the trigger of the telescopic lance in the on position and using the sprayer handle to regulate liquid flow the easiest way to spray.
You can go to our RS125 page where you will find more technical information. If you have any questions about this sprayer then please call us or send us a message via our Contact Us page and we will endeavour to help.